
[ad_1]
A new accessibility feature that is being introduced with Android 12 allows you to control your screen using facial gestures: raise eyebrows, smile, open mouth, look up, look left, look right. This feature, called “Camera switches,” uses the phone’s camera to watch for these gestures and allows them to signal simple screen operations. These operations include: go to the next actionable screen object, select an object, go to the previous object, touch and hold, scroll forward, and scroll backward; you can also pause the camera switch itself.
It’s not a long list: it only includes six facial gestures and not all that many actions. However, it’s a beginning, and it could be useful if you can’t use your hands to work your phone’s screen.
If you do have a Pixel loaded with Android 12 beta — or if you’re reading this after Android 12 becomes available — here’s how you start using the “Camera switches” feature.
- On your phone, go to “Settings” > “Accessibility” > “Switch Access”
- Toggle on “Use Switch Access.” It will probably ask you to allow it to view and control your screen and interact with apps.
- You’ll then be asked to choose a switch type. You can use a physical switch via USB or Bluetooth, but we’re going to go with Camera Switch instead. You’ll be asked for permission to take pictures and record video.
- Next, the app asks you to choose between using one switch or two. This is a little confusing: what it really means is that you can either just use a single gesture to start auto-scanning what’s on the screen (one switch), or you can use up to six different gestures to perform a variety of functions (two switches). I selected the second; either way, once you’ve made your choice, tap “Next.”
- You now need to select one of three ways that you will be able to move through your actionable items using facial gestures. Linear scanning means that each gesture will move forward item by item; row-column scanning will let you select a row of items and then drill down; group selection will assign all items a color and you use facial gestures to choose which color you want, and drill down from there. I chose linear scanning, but you may want to try out all three to see which works for you.
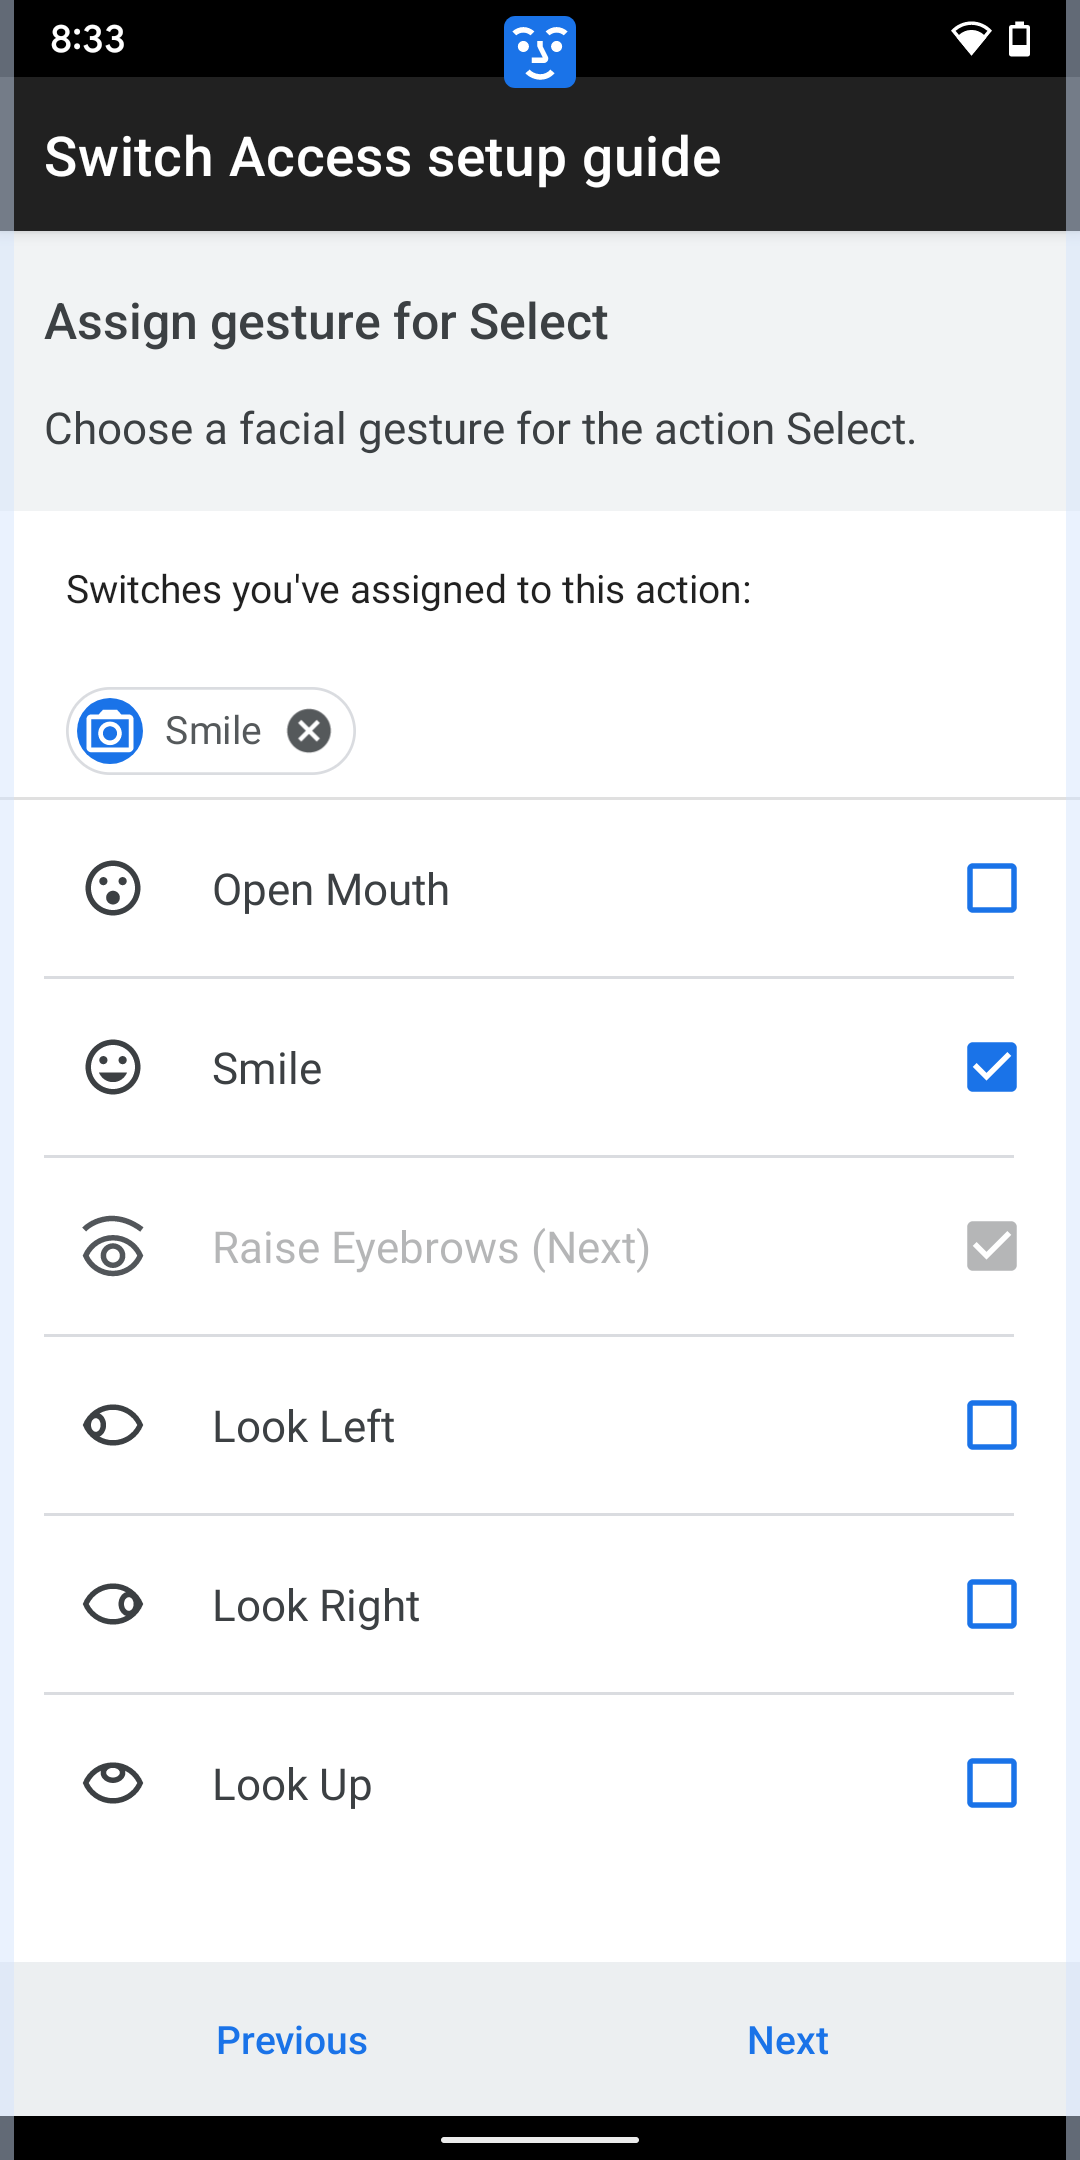
- The three subsequent screens let you choose switches for three actions: next, select, and pause (in other words, temporarily pause or unpause the use of facial gestures). You can use one or more facial gestures for each — for example, you can assign both eyebrows up and eyes right to “next.” But you can only use each gesture for one action; so if you choose to raise your eyebrows to indicate “next,” then “raise eyebrows” will be grayed out for any other actions.

- The next screen is called “Switch Access settings.” Toggle it on to enable it. It has a “Try it” button that you can use to see if your camera can properly catch your smile, upraised eyebrows, etc.
- On this page, you can also tweak your face gesture settings to better suit your needs. For example, if you tap on “Open Mouth,” you can set how big the gesture needs to be (in other words, how open your mouth has to be), how long you need to hold it, etc.
Try it out
At this point, it’s a good idea to leave setup and try it out. I did, and while I found it slow going (and realized very early on that I had neglected to assign the “previous” switch), it worked pretty well. I even had little trouble using raised eyebrows to indicate “next,” despite my rather heavily framed glasses. (Of course, they’re reading glasses that I often wear low on my nose, so it’s possible glasses might be a problem for others.)
Some things you may want to keep in mind:
- If you want to go back and tweak your settings, you can go back to “Settings” > “Accessibility” > “Switch Access” > “Settings.” There you can reassign facial gestures either by going through the guided setup again (look for “Open setup guide” at the top of the page) or running through the various menu options.
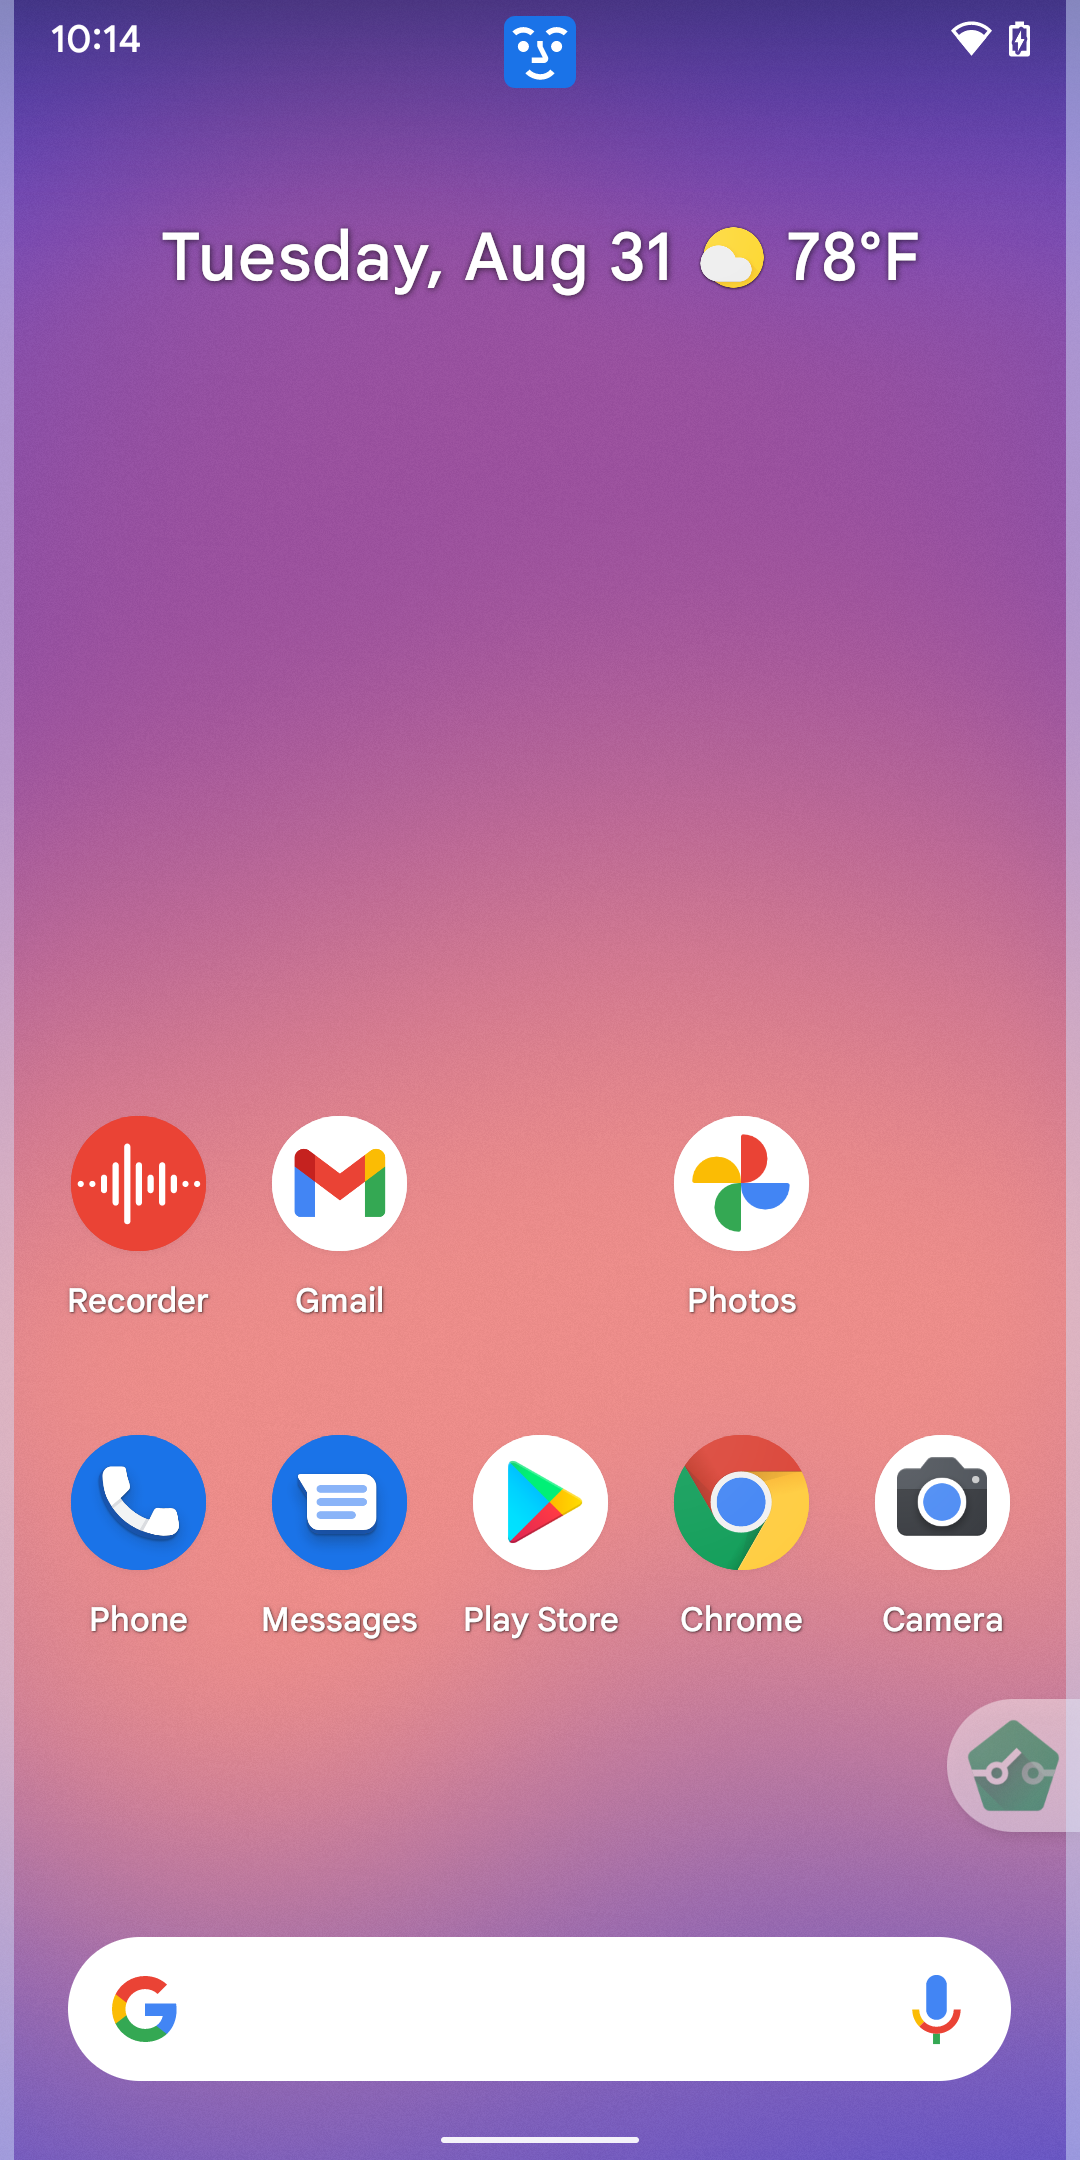
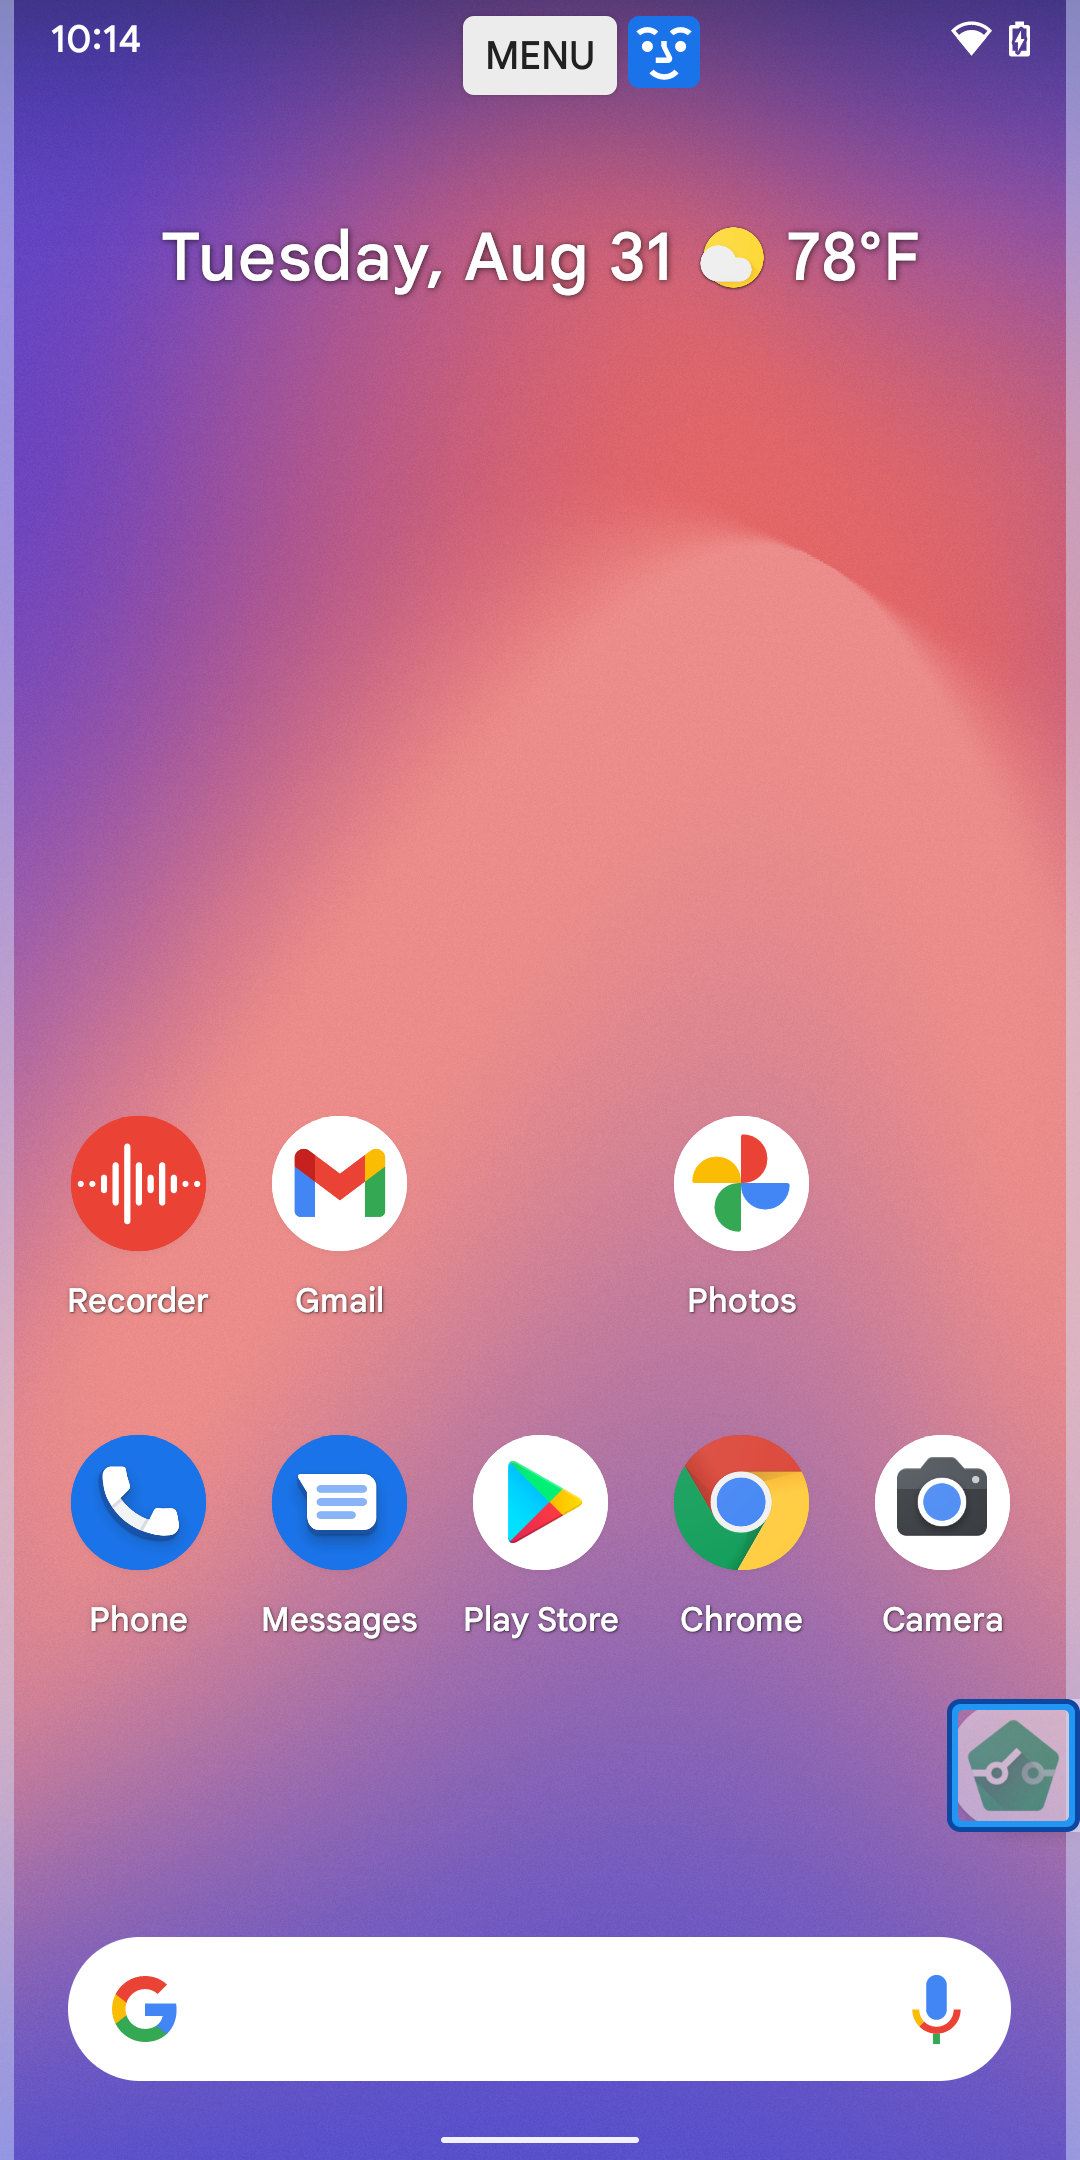
- A blue smiley face at the top of your screen will appear when the camera switches are active. When the switches are paused, you’ll see a blue “pause” symbol.
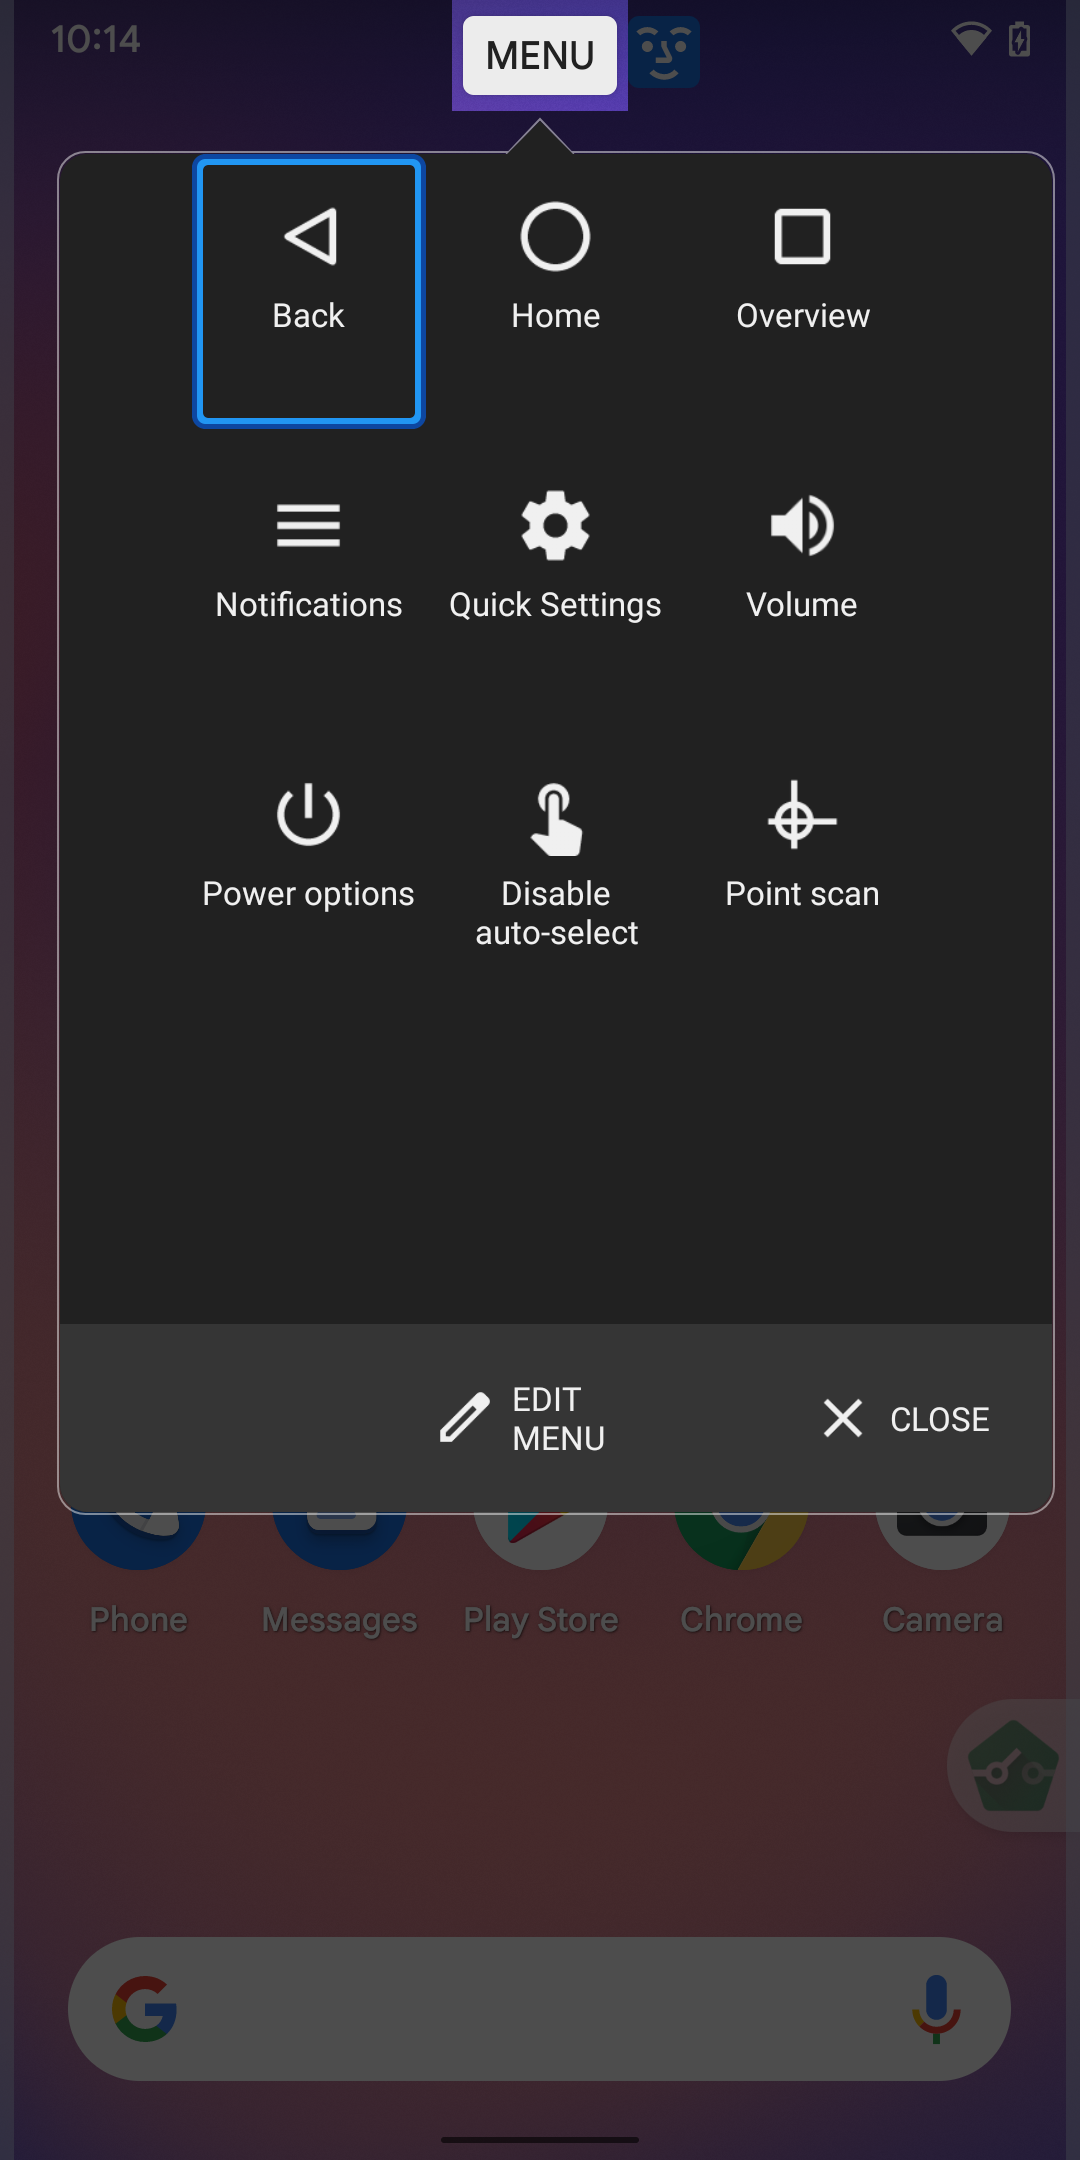
- When you go through your home screen using camera switches, a “Menu” button will appear next to the smiley face. This will bring up a quick menu of six action items, such as home, back, notifications, power options, etc.
- One handy feature is the “Switch Access shortcut” which you can find on the main “Switch Access” page. The shortcut — a little green icon — will stay on your screen at all times, letting you turn switch access on and off at will. If it’s getting in your way, swipe it toward the edge of the screen to minimize it.
Granted, Android 12’s new Camera Switch Access feature takes a while to set up and can be a little complex to tweak. In addition, I only used it for a few hours, and so I’m not a fair judge on how ultimately useful it would be to someone who may find it difficult to interact with their phone using touch. But if it is something that you might find useful, take a look.
One additional note if you’re using Android 10 or 11: since this feature is built into the Android Accessibility Suite, which is already part of Android 10 and 11, there is a good possibility that it will eventually become available to those versions of Android as well. According to sites such as XDA-Developers, if you’re comfortable sideloading APKs on your phone, you can access it now via sites such as APKMirror. Otherwise, stay tuned and watch for updates.
[ad_2]
Leave a Reply